Are you looking to take your nail styling game to the next level? Hard gel nails are an amazing way to add a touch of glamour and personality to your look. This revolutionary process utilizes a combination of ultraviolet light and hard gel-based products that provide superior strength, durability, and flexibility without damaging the natural nail beds. With so many colors and designs available, it’s easy for anyone to get creative with their hard gel manicure. From intricate floral prints to 3D art pieces, there’s no shortage of possibilities when customizing your nails! In today’s blog post, we’ll discuss some unique ways you can use hard gels to style up your nails in classic and fun avant-garde styles.
How to apply hard gel nails
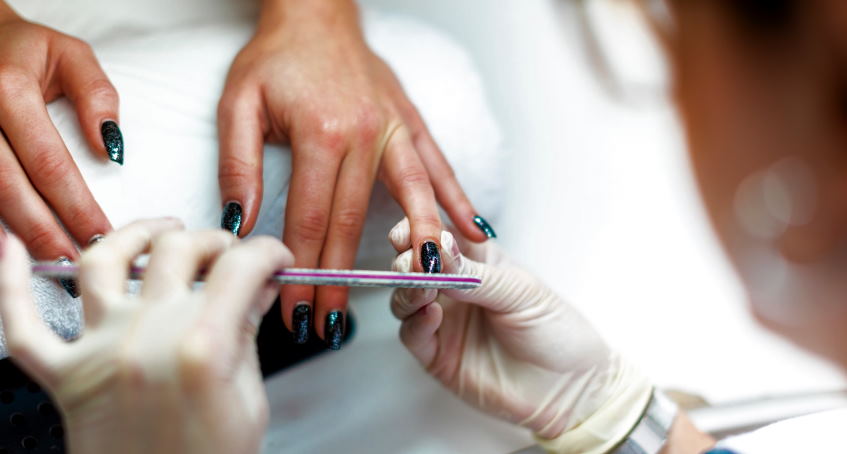
- Prep the nails: Wash your hands and file and shape the natural nails with a nail file. Push back the cuticles and buff away any shine from the nail plate. Apply a thin layer of dehydrator or primer to help ensure better adhesion of the hard gel polish.
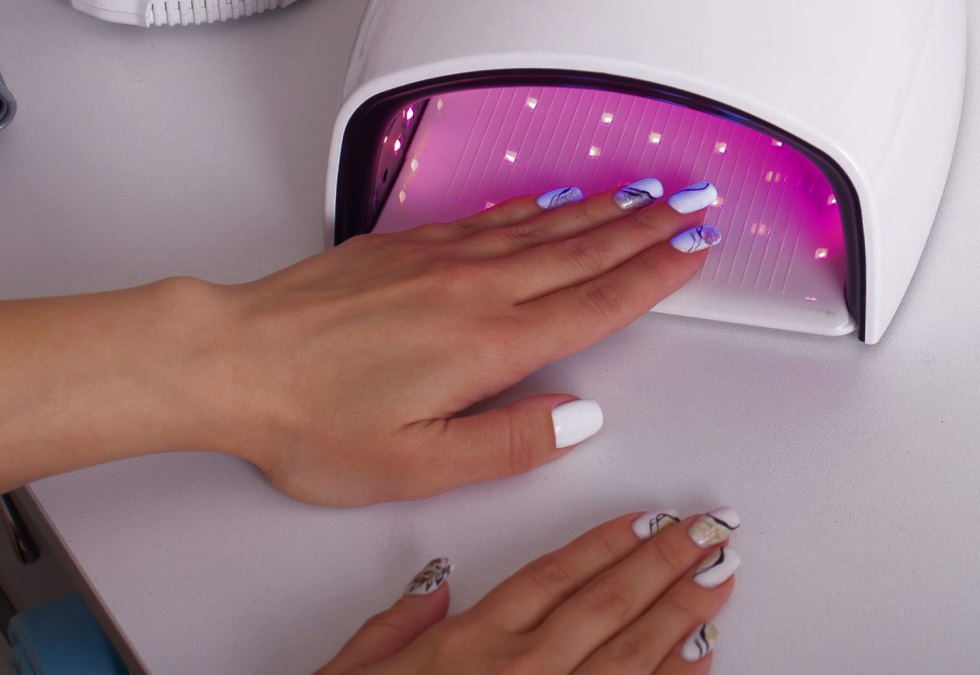
- Add a base coat: Once you’ve prepped your nails, apply a thin layer of clear hard gel onto each nail using an orange wood stick. Use light pressure as you spread the gel evenly on each nail bed, ensuring no air bubbles are left behind in the product. Cure under an LED lamp for 30 seconds or 2 minutes under UV lamps.
- Choose your color: Pick out your preferred shade of hard gel polish and apply it in thin layers using an orange wood stick. Ensure that the color is evenly spread out on each nail bed; build up the product for a more intense color. Cure for another 30 seconds or 2 minutes under LED/UV lamps, depending on which one you have at home.
- Add top coat: Once your color is applied to each nail, use an orange wood stick to apply a thin layer of clear hard gel topcoat over top of the nails. This will help seal in your design and prevent chipping and peeling. Again, cure under LED/UV lamps for 30 seconds or 2 minutes.
- Remove excess gel: Use an electric file with a medium-grit bit to remove any excess product that may have been left behind on the nails. Then, use a soft nail brush to buff away any residue.
- Final Touches: Once finished, wipe each nail with a lint-free pad soaked in rubbing alcohol or cuticle oil to give your manicure an extra shine. Your hard gel nails are now complete! Enjoy your long-lasting and beautiful look.
Hard gel nails – the pros and cons
Gel nails can be a great way to achieve salon-like results at home, but it’s important to understand the pros and cons before you start. Gel nails are usually referred to as hard gel because they use a thick (or hard) soak-off gel applied over the nail and cured with a UV or LED light. This creates a very strong and durable nail enhancement that can last up to several weeks.
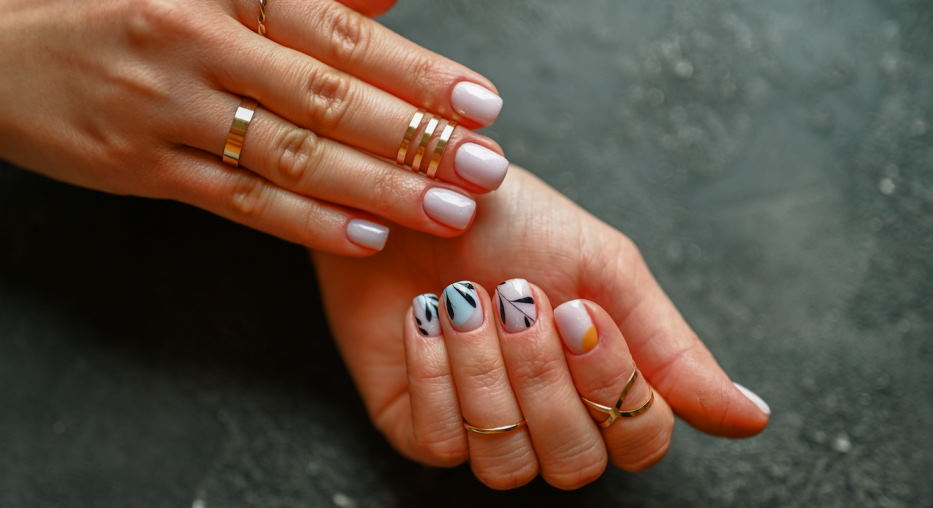
Pros: Hard gel nails are more durable than acrylic nails but not as brittle as shellac or dip powder nails. They provide an extra layer of protection for your natural nails and give them a glossy finish. The application process is also relatively quick compared to other nail treatments since there is no drying time.
Cons: Hard gel nails can be more expensive than other nail treatments, such as acrylics or shellac. It’s also important to note that hard gels are only ideal for some. For example, people with weak or thin nails may find it difficult to get the desired results and should opt for softer acrylics instead. Additionally, UV or LED lights used during the application process can damage the skin if not used properly. Finally, when removing hard gel nails, you must use an acetone-based remover which can be harsh on the skin and nails if overused.
Understanding the pros and cons of hard gel nails before getting them done will ensure that you get the best results possible and that your nails stay healthy. With the right care, hard gel nails can be a great way to achieve salon-like results at home.